Easy Overnight Sandwich Bread Plus Homemade Butter
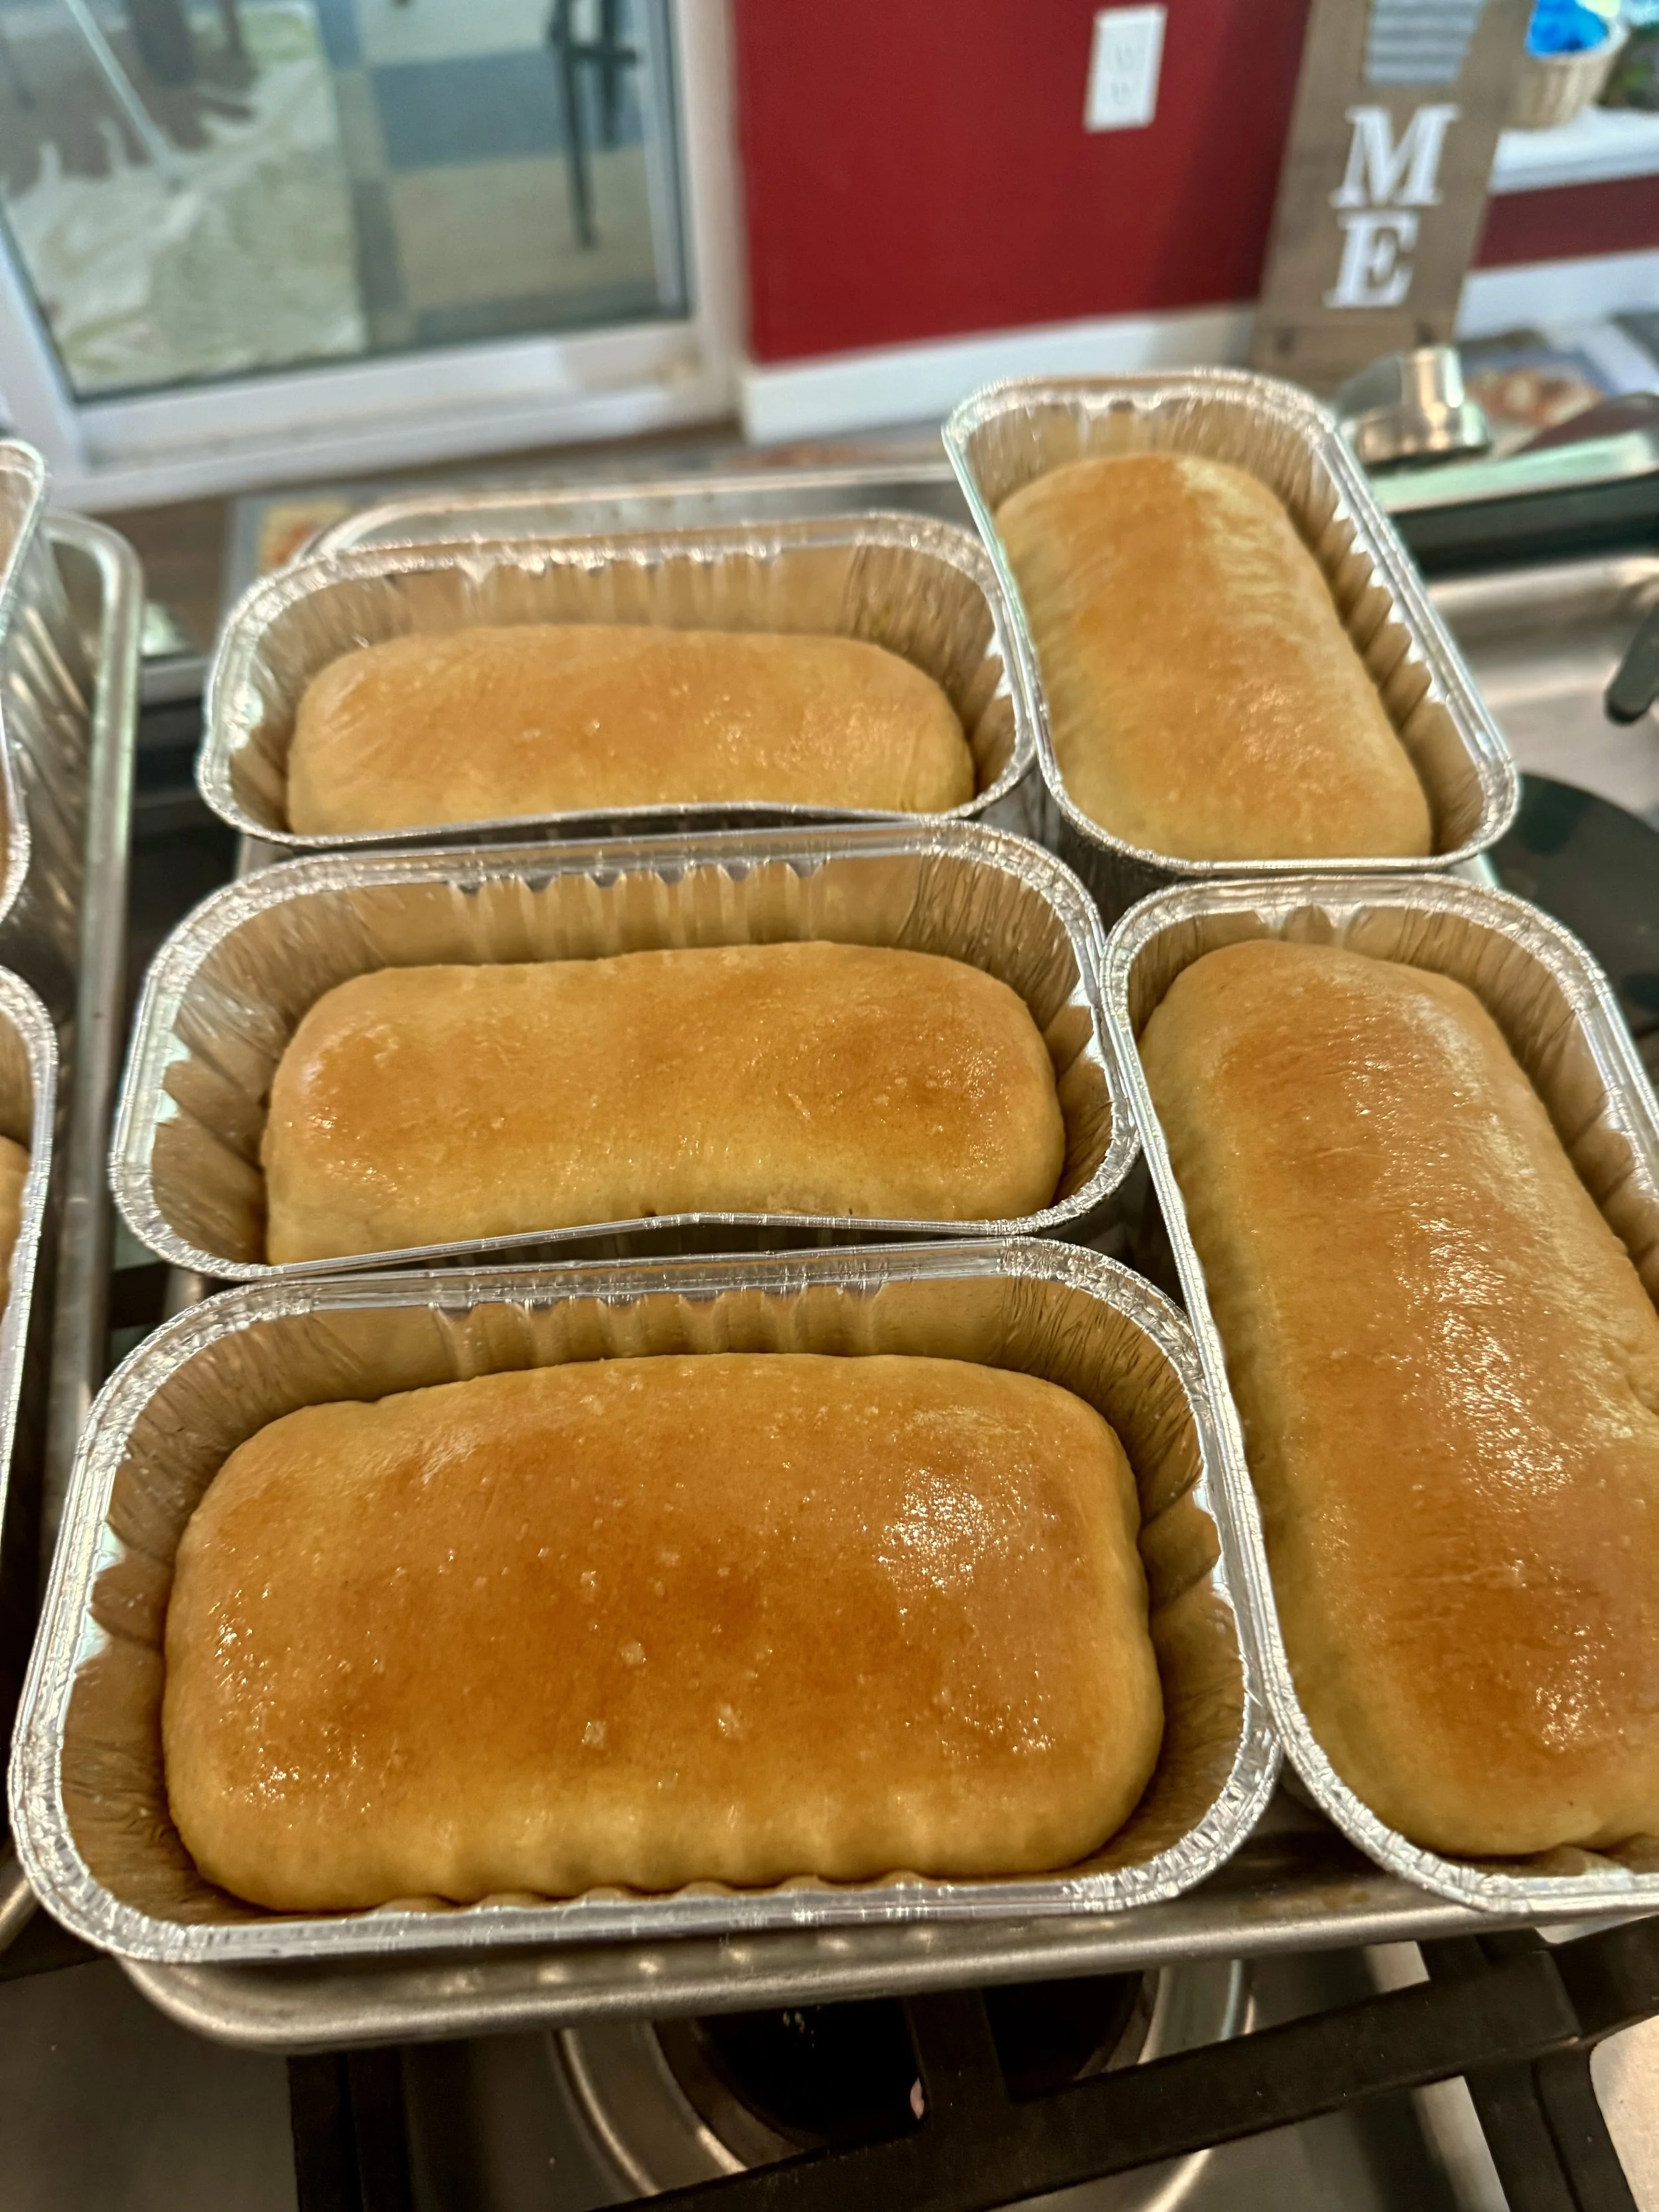
Baby Goat Camp’s bread and homemade butter made for a delicious snack time!
Overnight Sandwich Bread
Ingredients
☐ 3½ cups all-purpose flour
☐ 2 tablespoons granulated sugar
☐ 1¼ teaspoons instant yeast
☐ 1 teaspoon salt
☐ 1 cup lukewarm water (100–110°F)
☐ ¼ cup vegetable oil
Equipment
☐ Large mixing bowl
☐ Measuring cups and spoons
☐ Stand mixer with dough hook (or knead by hand)
☐ Bench scraper or spatula
☐ Standard loaf pan
☐ Plastic wrap or damp towel
☐ Cooling rack
DAY 1 – Mix & First Rise
Step 1: Mix the Dough
1. Combine the flour, sugar, instant yeast, and salt in a large mixing bowl.
2. Slowly add the lukewarm water and vegetable oil.
3. Mix until a shaggy dough forms.
The dough should look rough and slightly sticky before kneading.
Step 2: Knead
Knead for 5–7 minutes using a stand mixer with a dough hook or by hand.
The dough should be:
• Soft
• Smooth
• Slightly tacky
Note: The long overnight rise continues developing the gluten, so don't worry about over-kneading.
Step 3: Overnight Rise
Cover the bowl with plastic wrap.
Let rise at a cool room temperature for 8–12 hours.
Tomorrow the dough should:
• Double in size
• Be full of air bubbles
• Feel light and puffy
DAY 2 – Shape, Rise & Bake
Step 4: Shape the Loaf
Turn the dough onto a lightly floured surface. Stretch into approximately a 9 × 18-inch rectangle. Tuck the corners neatly, roll tightly into a log, and pinch the seam closed.
Note: Lightly flattening the dough before rolling helps create a smoother loaf.
Step 5: Second Rise
Grease a standard loaf pan. Place the dough seam-side down in the pan. Cover loosely with greased plastic wrap. Let rise in a warm place for 1–2 hours.
Preheat the oven at 350°F 30 minutes before the dough is done rising.
Step 6: Bake
Bake at 350°F for 30–40 minutes, until golden brown and the internal temperature reaches 190–210°F. Immediately remove from the pan and cool completely.
Step 7: Slice & Enjoy
Allow the bread to cool completely before slicing with a serrated knife. Serve as sandwich bread, toast, or however you like!
Hand-Shaken Butter
Ingredients
☐ 1 cup heavy whipping cream
☐ ¼ teaspoon salt
Equipment
☐ 8–16 oz mason jar with a tight-fitting lid
☐ Bowl of ice cold water
☐ Small bowl or plate
Directions
Step 1: Add the Cream
Pour 1 cup of cold heavy whipping cream into the mason jar.
Do not fill the jar more than halfway. The cream needs room to move while you shake.
Secure the lid tightly.
Step 2: Shake!
Shake the jar continuously.
As you shake, the cream will go through several stages.
Stage 1: Liquid cream
Stage 2: Thick whipped cream
Stage 3: The whipped cream becomes very thick and stops moving easily.
Stage 4: Suddenly you'll hear a sloshing sound as the butter separates from the liquid.
Continue shaking for another 30–60 seconds after the butter separates.
Step 3: Separate the Butter
Pour the buttermilk into a bowl or sink, leaving the butter in the jar.
Step 4: Wash the Butter
Place the butter into the ice water.
Using clean hands or the back of a spoon, gently squeeze and press the butter to remove any remaining buttermilk trapped inside.
The water will become cloudy.
Pour out the cloudy water and replace it with fresh ice water.
Continue squeezing the butter and changing the water until the water stays mostly clear.
Step 5: Add the Salt
Sprinkle ¼ teaspoon salt over the butter.
Fold and knead the salt into the butter until it is evenly mixed.
Step 6: Shape & Enjoy!
Shape the butter into a ball, log, or pat.
Spread it on fresh bread and enjoy!
What's Happening?
Heavy whipping cream contains tiny droplets of butterfat suspended in liquid. As you shake the jar, the butterfat droplets repeatedly collide and stick together. Eventually, they form a solid clump of butter, leaving behind the liquid called buttermilk. This isn’t the cultured buttermilk you get at the store that is sour, but sweet tasting more similar to skim milk.
Washing and squeezing the butter removes trapped buttermilk, helping the butter stay fresh longer and improving its texture. Adding salt enhances the flavor and also helps preserve the butter.